Overview
Custom Map Layers provide a flexible way to display overlays on a Map. This feature allows creation of custom visualizations to share with customers. These include such overlays as custom images, Coverage Raster images, and Geographic borders.
Adding Custom Layers
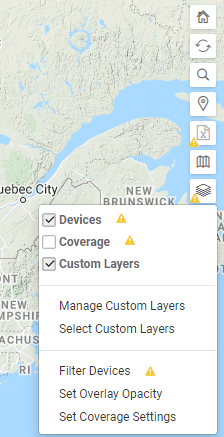
Custom map layers are custom overlays that can be put on the map. These can consist of two formats, either a KML (Keyhole Markup Language) file or image overlay. From the layers menu, clicking "Manage Custom Layers" launches the Custom Layers management dialog.
-
To create a layer, select Manage Custom Layers from the Layers button menu. This action will open the Custom Layers management dialog.
-
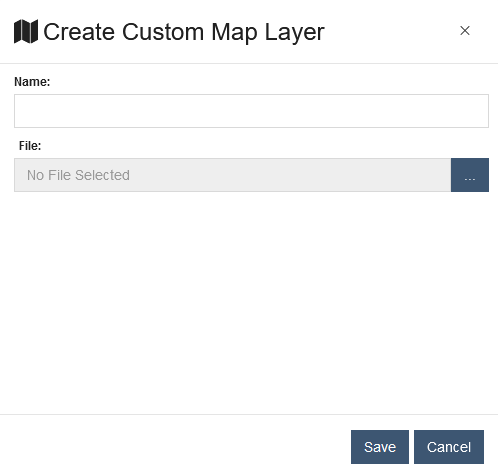
Click the
 button on the Custom Layers management table to launch the create dialog.
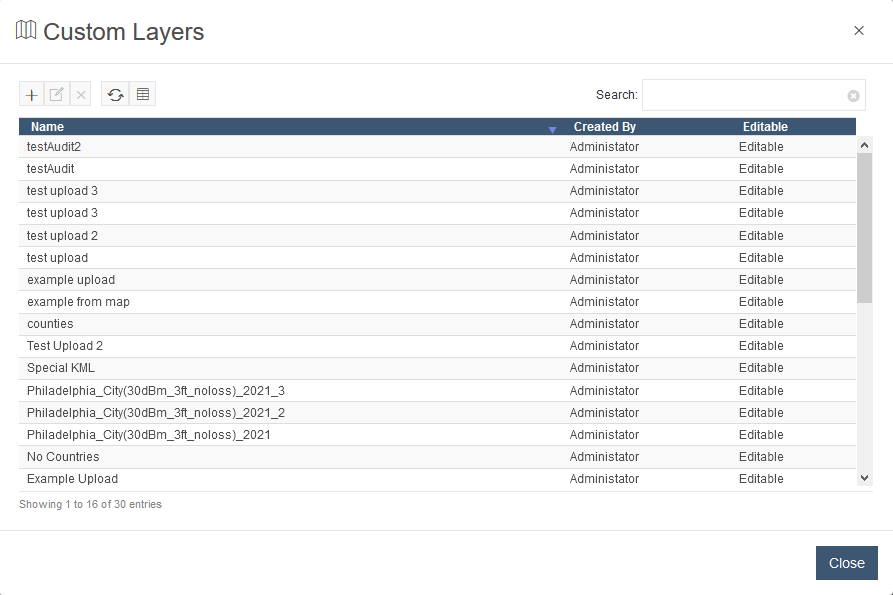
Create Overlay Dialog:
-
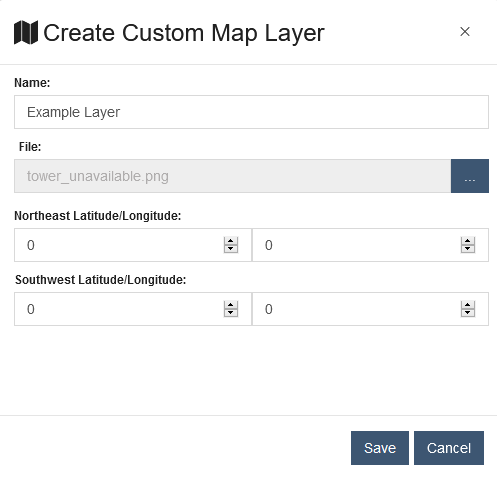
Select the file source for the Custom Layer. If the source file is KML, name the file to continue. If it’s an image overlay, the bounds of the image overlay must be defined.
KML Overlay Example:
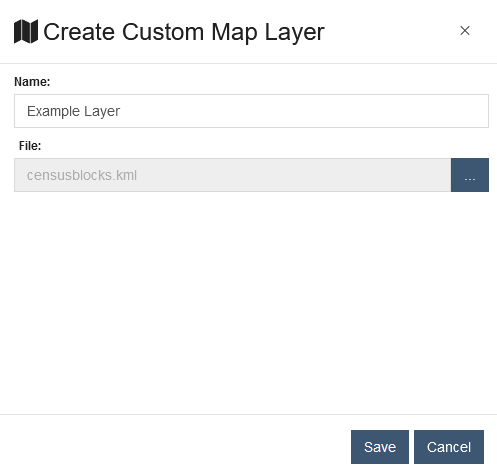
Image Overlay Example:
-
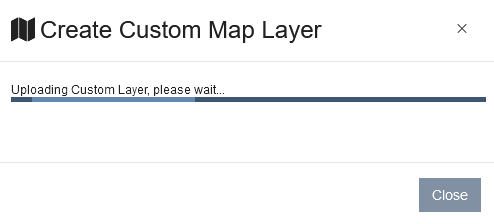
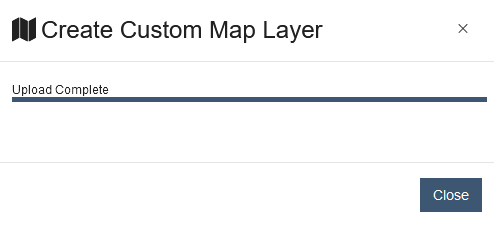
After the layer is saved, the file is uploaded to the server and the progress of the upload is displayed.
Upload in Progres:
Upload Complete:
-
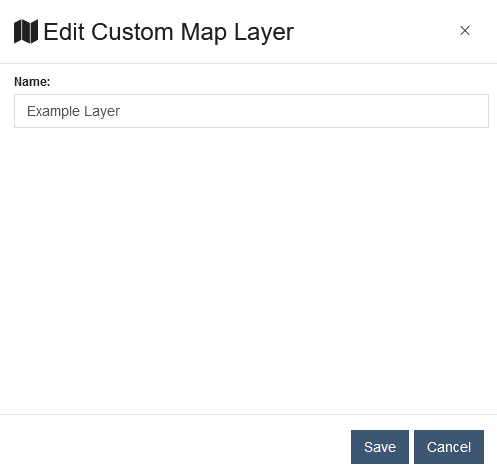
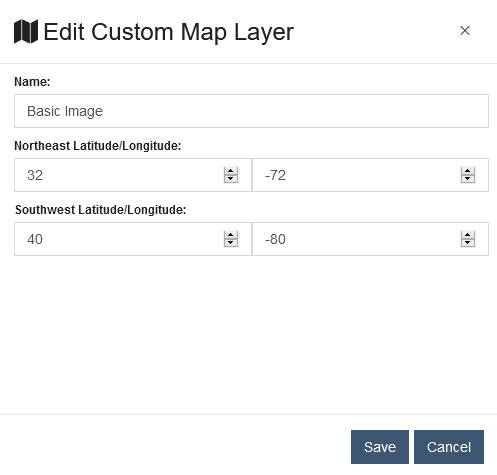
When the upload completes, the layer can be displayed on the map from the Select Custom Layer dialog. After creation, layers can be edited to change the name or in the case of image overlays, change the bounds of the image.
Edit Name Example:
Edit Bounds Example:
Enabling a Custom Map Layer
Custom Layers are enabled by first enabling the Custom Layer feature and then clicking the "Select Custom Layer" menu item from the Layers button.
Once the menu item is clicked, the Custom Map Layers selection dialog is shown.
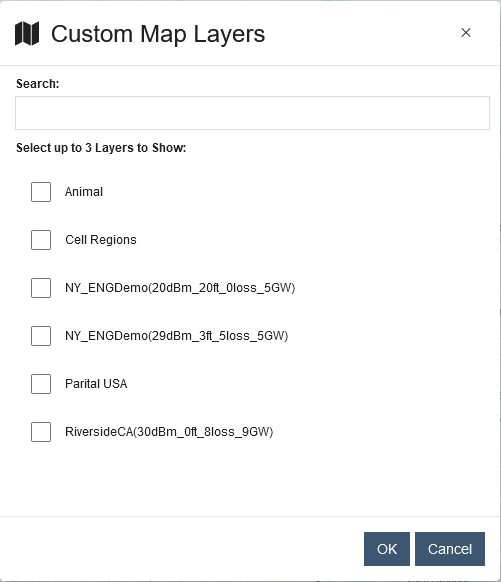
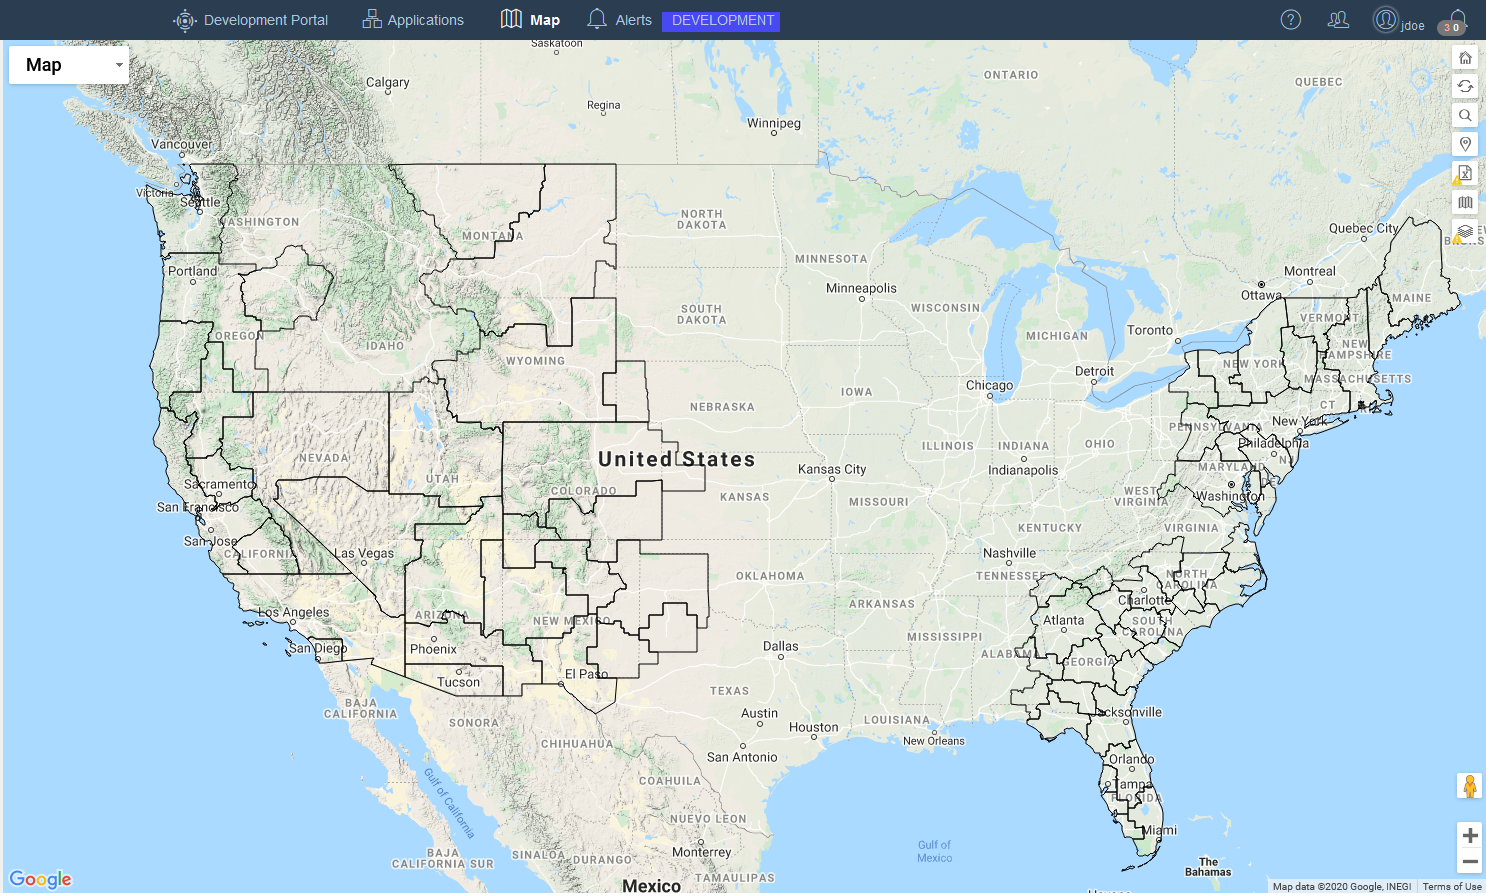
Up to 3 Custom Layers can be selected. Clicking the OK button adds that layer to the Map view. This screenshot shows a sample view with a single Custom Layer map selected.
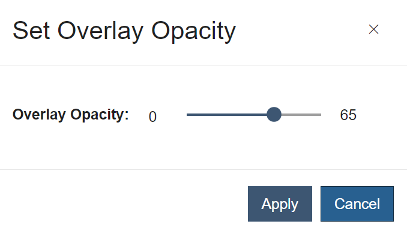
Setting Overlay Image Opacity
The opacity of images that are uploaded as Custom Layers can be customized from the Layers button. Click the Set Overlay Opacity menu item to launch a dialog to customize the opacity.